My sourdough starter is called Marletta. She’s 33 years old and was gifted to me by a friend of a friend. I love her. Having tried and failed to get my own starter going a couple of times, it feels great to finally be having some success with baking bread, which was one of the essential skills that came up on the homesteading skills survey I did before starting this journey into self sufficiency.
Here are the no nonsense steps to making sourdough bread once you have a starter going. You need to plan ahead because there is an 8 hour period where the dough has to rise while your starter does it’s thing, so plan to bake either first thing in the morning or at the end of the day.
STEP 1:Feeding the Starter pre dough making
1. Feed your sourdough starter (approximately half a cup in a big jar), with a cup of all purpose flour and approximately 3/4 cup water, mix well with a fork and leave for a few hours.
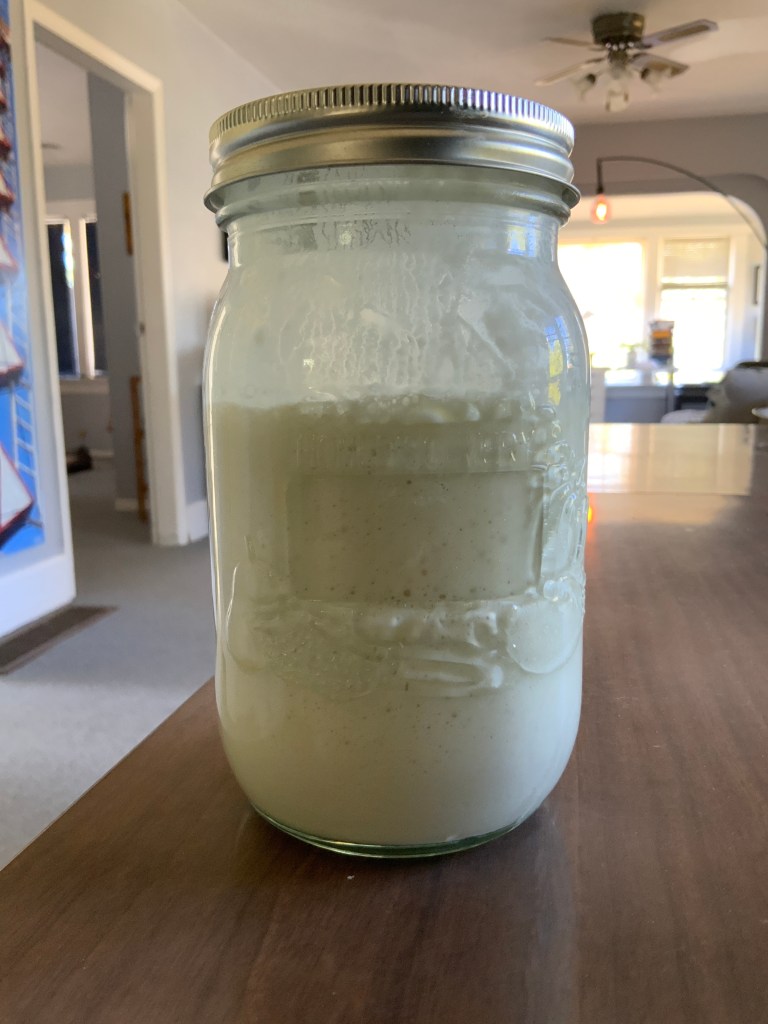
2. Leave it out on the counter, or if your kitchen is cold, somewhere a bit warmer, in the oven with the light on is warm enough (the oven shouldn’t be heated). It will bubble up and fill the jar.
3. NOTE: If your starter has been in the fridge and fed within the last seven days you can use it straight from the jar cold without feeding
Making the Dough
Ingredients:
- 520g all purpose flour
- 12g salt
- 385g warm water
- 90g sourdough starter
- You will need a cast iron Dutch oven for baking
Instructions
- Mix 520g of flour and 12g of salt, add any additional herbs or seeds you want in your dough as well.
- Mix 385g of warm water and 90g of starter.
- Mix the water and starter mixture into the bowl with the flour and salt. I use a KitchenAid mixer with the dough hook for this, but you could do it by hand starting by staring with a butter knife, and then using your hands. The dough will look a bit messy at this point, if it is very sticky, add a little more flour, but don’t worry about the appearance at this point.
- Let the dough rest for 15-30 minutes with a damp towel over it.
- STRETCH AND FOLD: with one hand (I dust my fingers with flour to stop them sticking) pull the dough up from one side of the bowl, stretch it up slightly and then fold it into the centre of the dough and push down. Move around the edge of the bowl repeating this until all sides have been lifted and stretched. If the bottom of the door is sticking to the bowl, lift it slightly and add a little flour.
- Let the dough rest for 15-30 minutes with a damp towel over it.
- Repeat the stretch and fold process as before and then let the dough rest in the bowl with a damp towel over it for 8 hours.
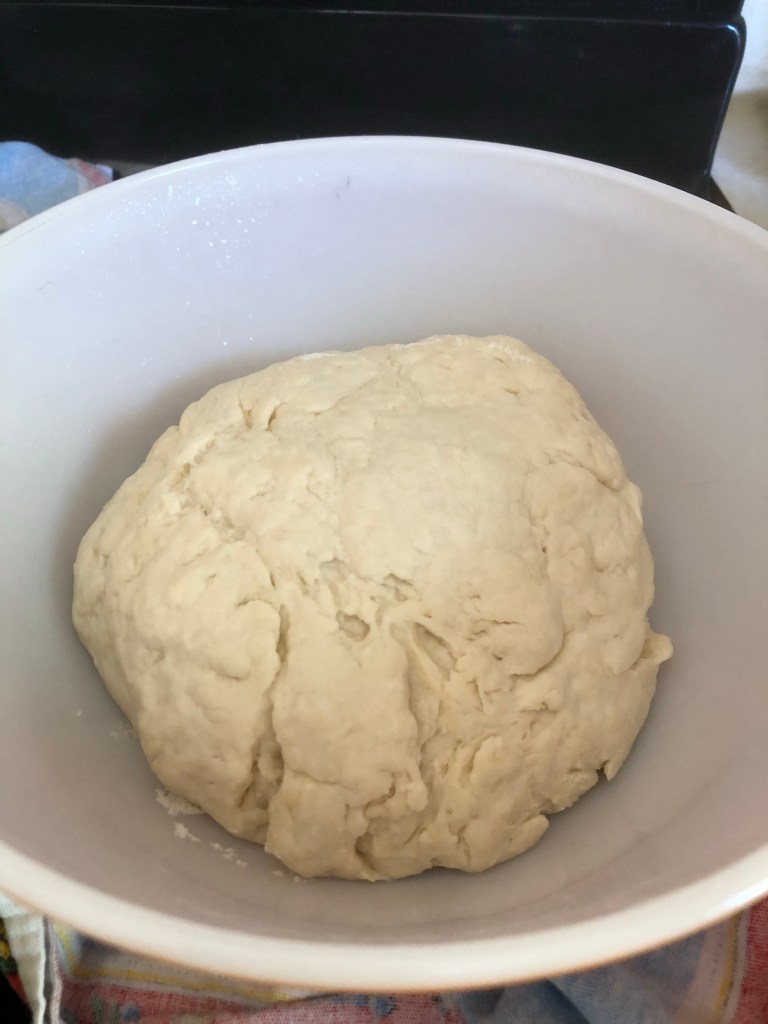
- The dough will have doubled in size
- Repeat the stretch and fold process again, let the dough rest four 15 minutes.
- Dust a work surface lightly with flour and do the stretch and fold again, moving around the ball of dough twice. Then flip the dough over do the smooth side is facing upward. Cup your hands around the dough and push in and under slightly to tighten the ball.
- Dust your bowl with flour and put the dough ball in it, smooth side down. Cover with damp towel.
- Put the bowl in the fridge for one hour, and put your oven on 500°F
- Place your Dutch oven in the oven to heat up with the lid off.
- After an hour has passed, remove the dough from the fridge and the Dutch oven from the oven, being careful not to burn yourself.
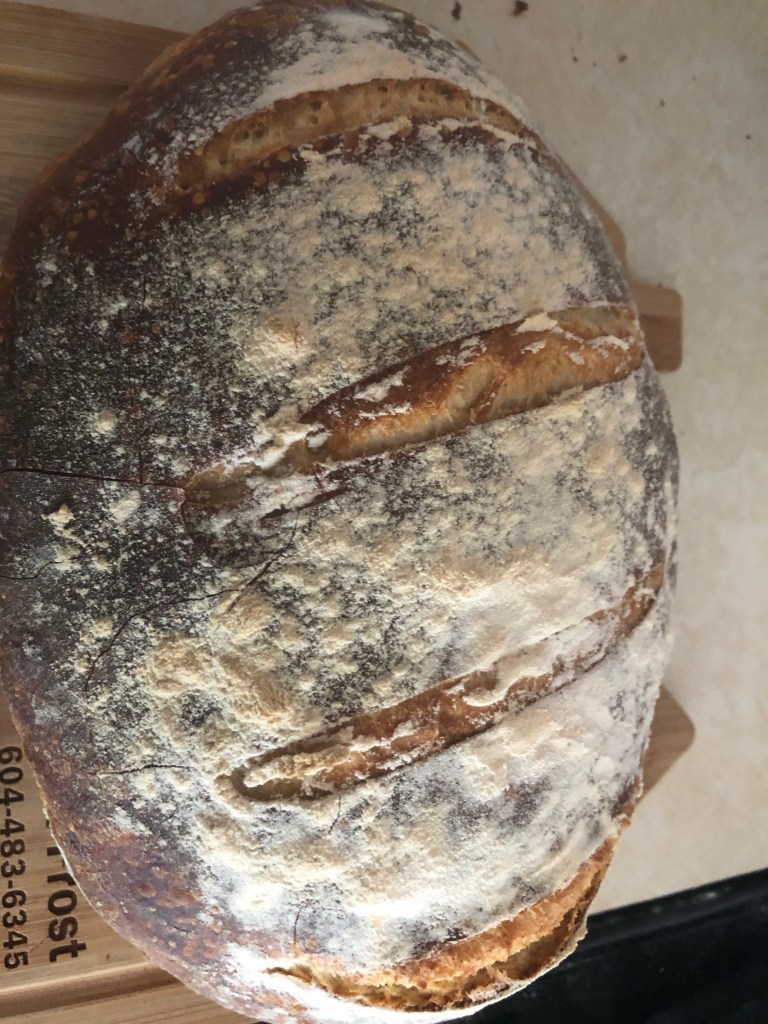
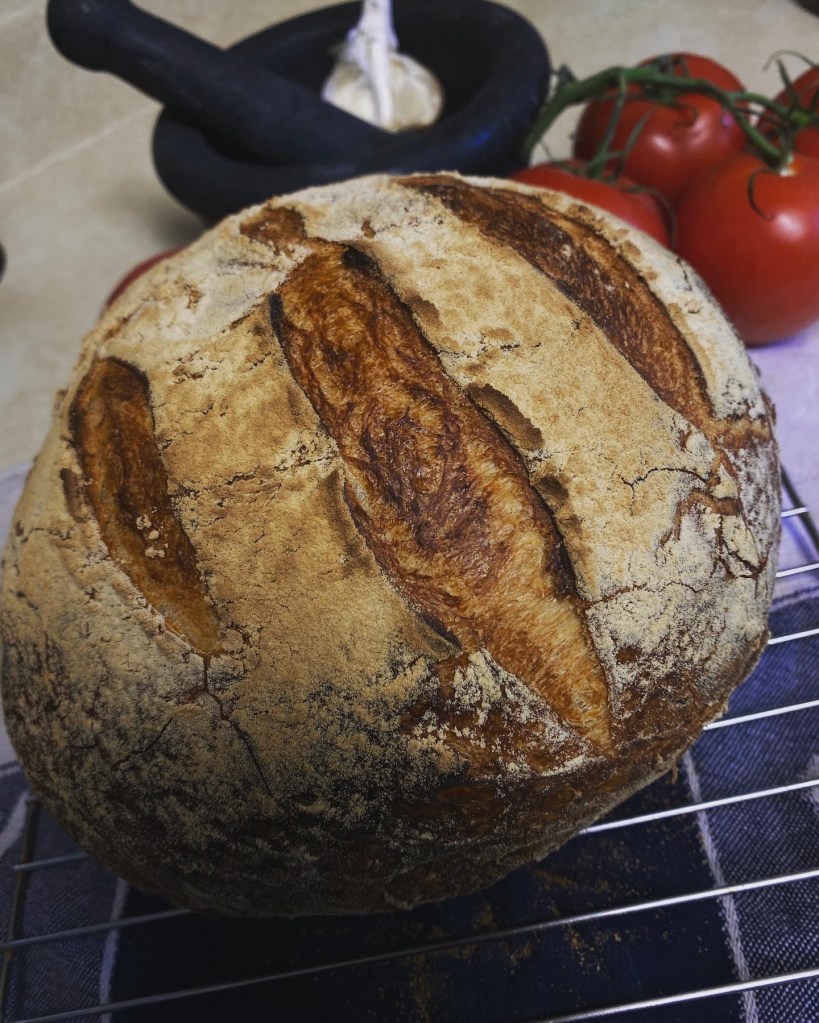
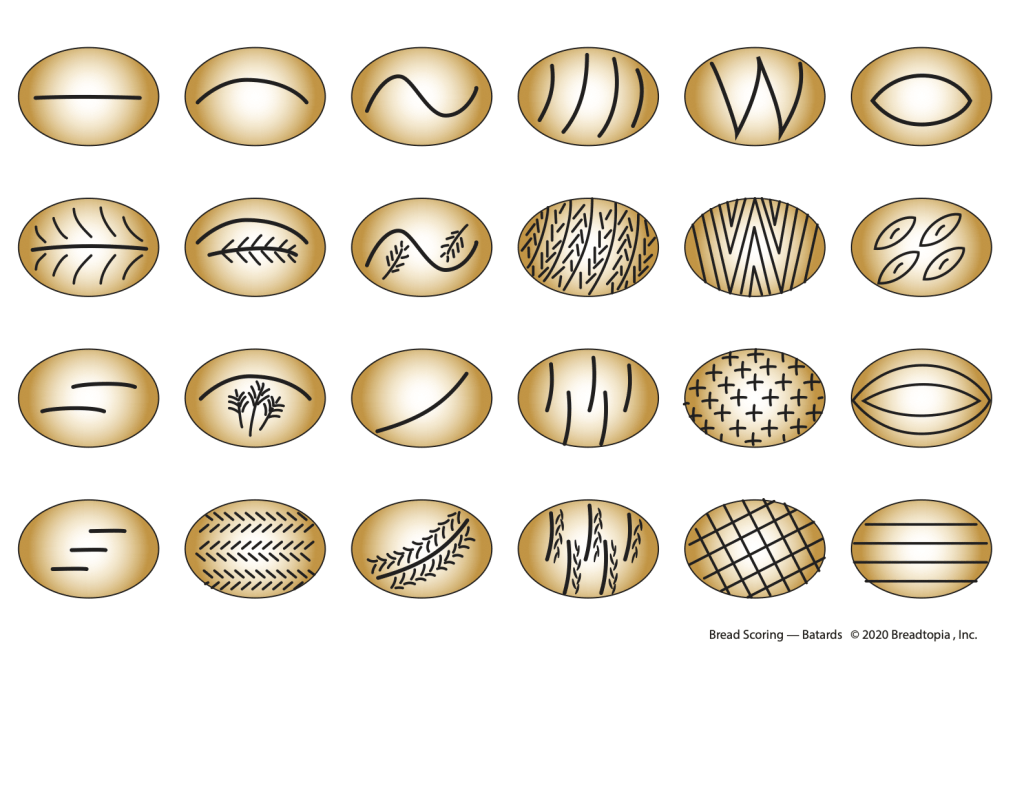
- Drop the dough out of the bowl so that it lands in the Dutch oven smooth side up. Dust the top quickly with flour and score the top of the dough with a sharp knife. See below for patterns.
- Put the lid on and put it back in the oven.
- Bake with the lid on for 22-25 minutes.
- Turn the temperature down to 450°F and bake for a further 12-15 minutes with the lid off.
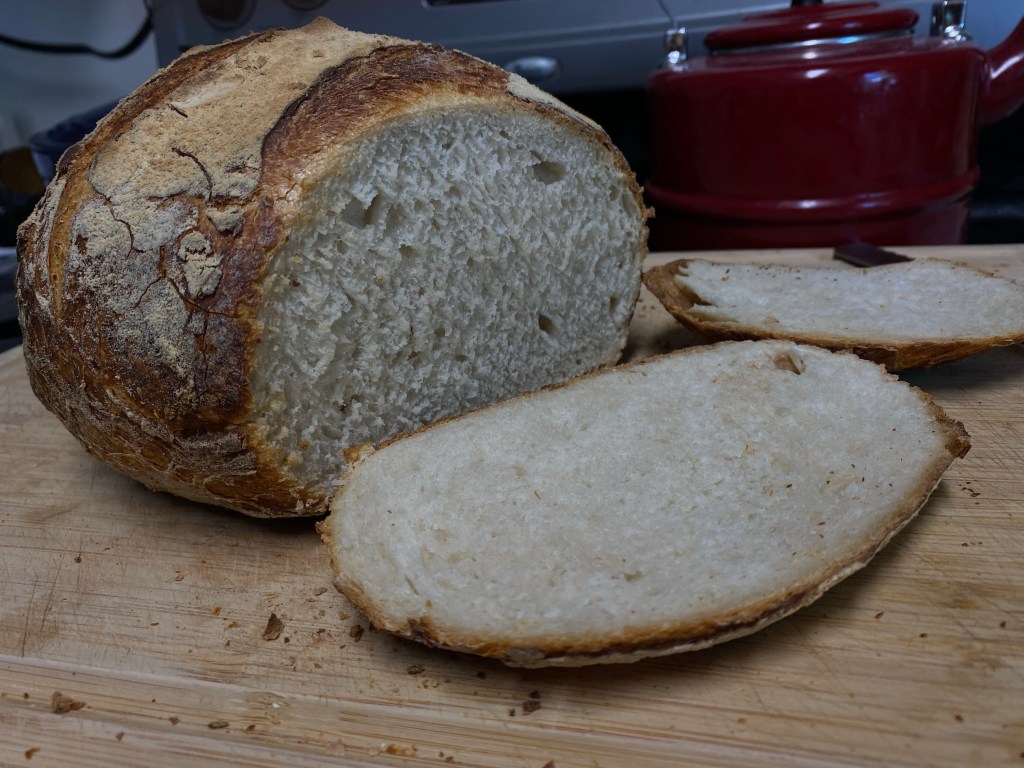
- Remove the bread from the oven and take out of the Dutch oven. Place on a wire rack to cool. You will hear it cracking and notice small blistering on the surface of the bread. This is totally normal. Wait an hour before slicing. If you cut it too soon, it will not slice well and you will have clumpy dough slices which is a poor reward for all your patience and hard work.

The only step left is to slice and enjoy. It’s good with everything, and after making and baking it a few times, what seems like a complicated process will be easy as pie! You can follow me on instagram to see examples of finished loafs at @moonsnailmicrostead
Have fun baking! There’s a printable PDF below. Grow – Eat – Repeat!